Migrate from Charles to Proxyman
It's the mini blog to help you migrate files from Charles to Proxyman.
It's a handy feature if you have a bunch of error log that you've already captured from Charles and would like to investigate or migrate to the Proxyman app.
How it works
Fortunately, Charles has a built-in command that allows us to convert the CHLS file to the HAR format that Proxyman can understand. Thus, please make sure that you have this app on your machine.
FYI: We can manually convert by executing this command on Terminal
./Applications/Charles.app/Contents/MacOS/Charles convert ~/Desktop/input.chls ~/Desktop/output.har
How to use
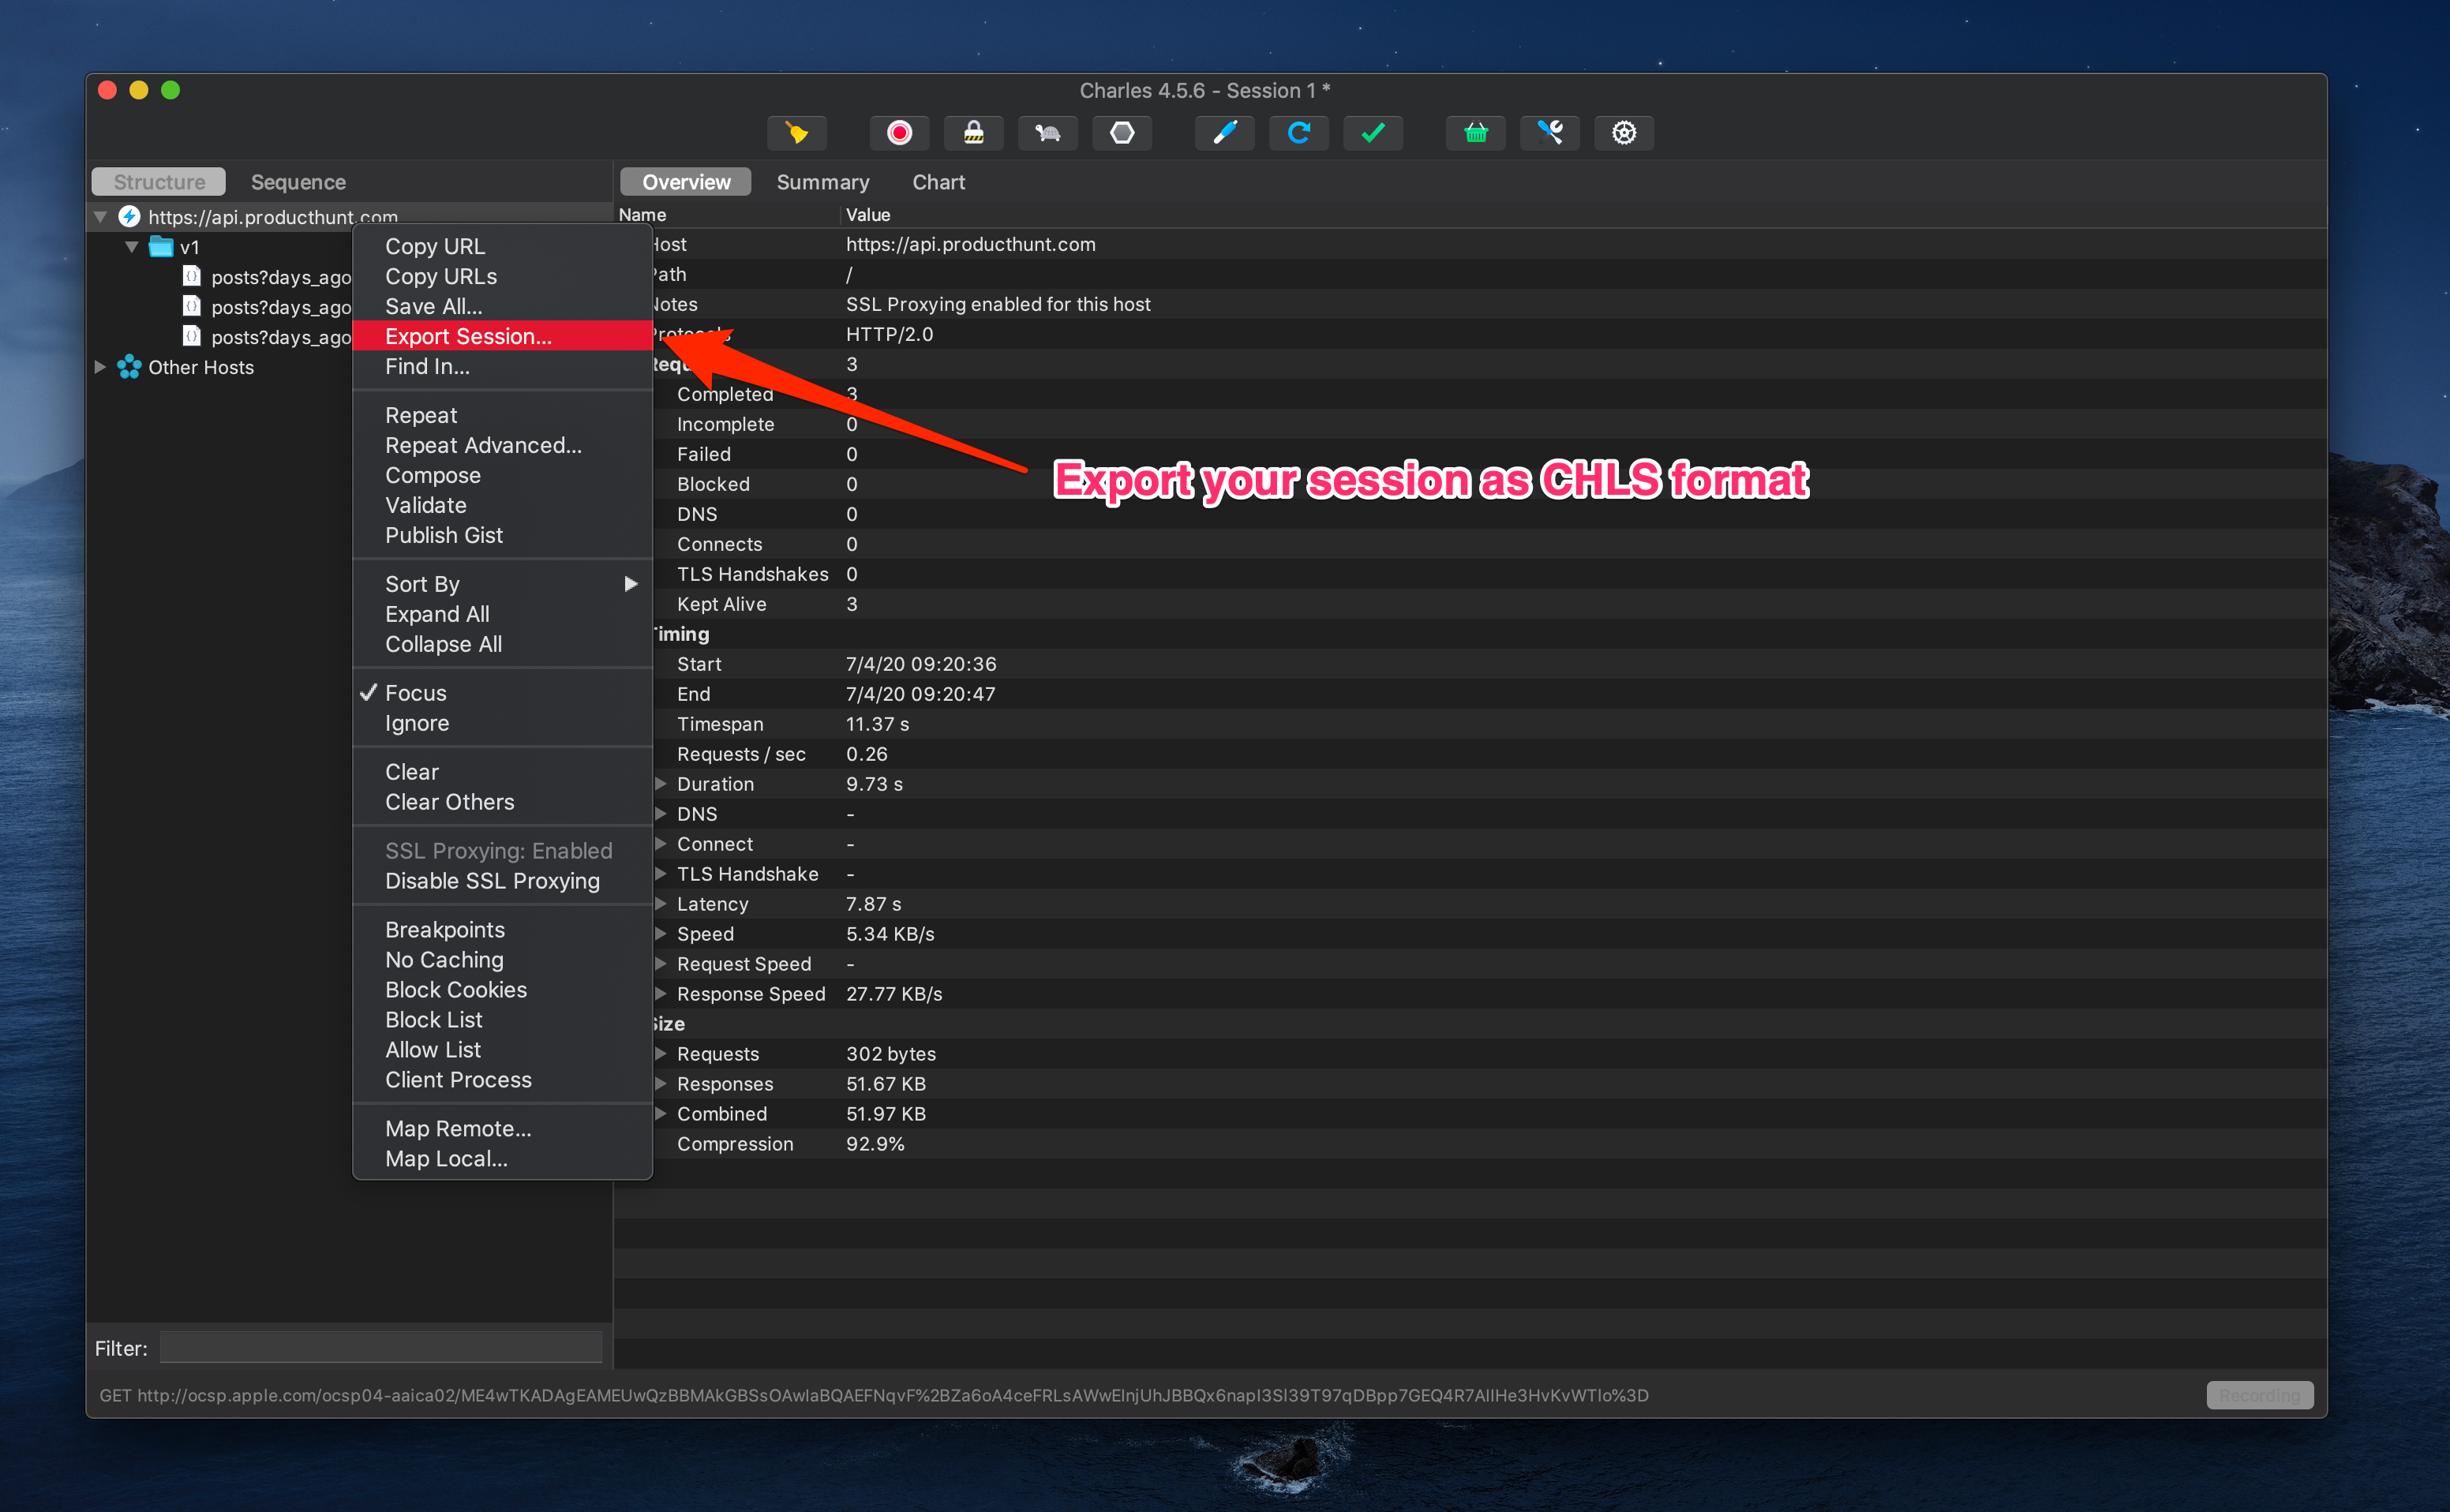
1. Export Charles Session
We can export the current session in two ways:
- Right-click on the selected requests -> Export Session -> Select
chlsformat -> Save - or File menu -> Export Session as... -> Select
chlsformat -> Save
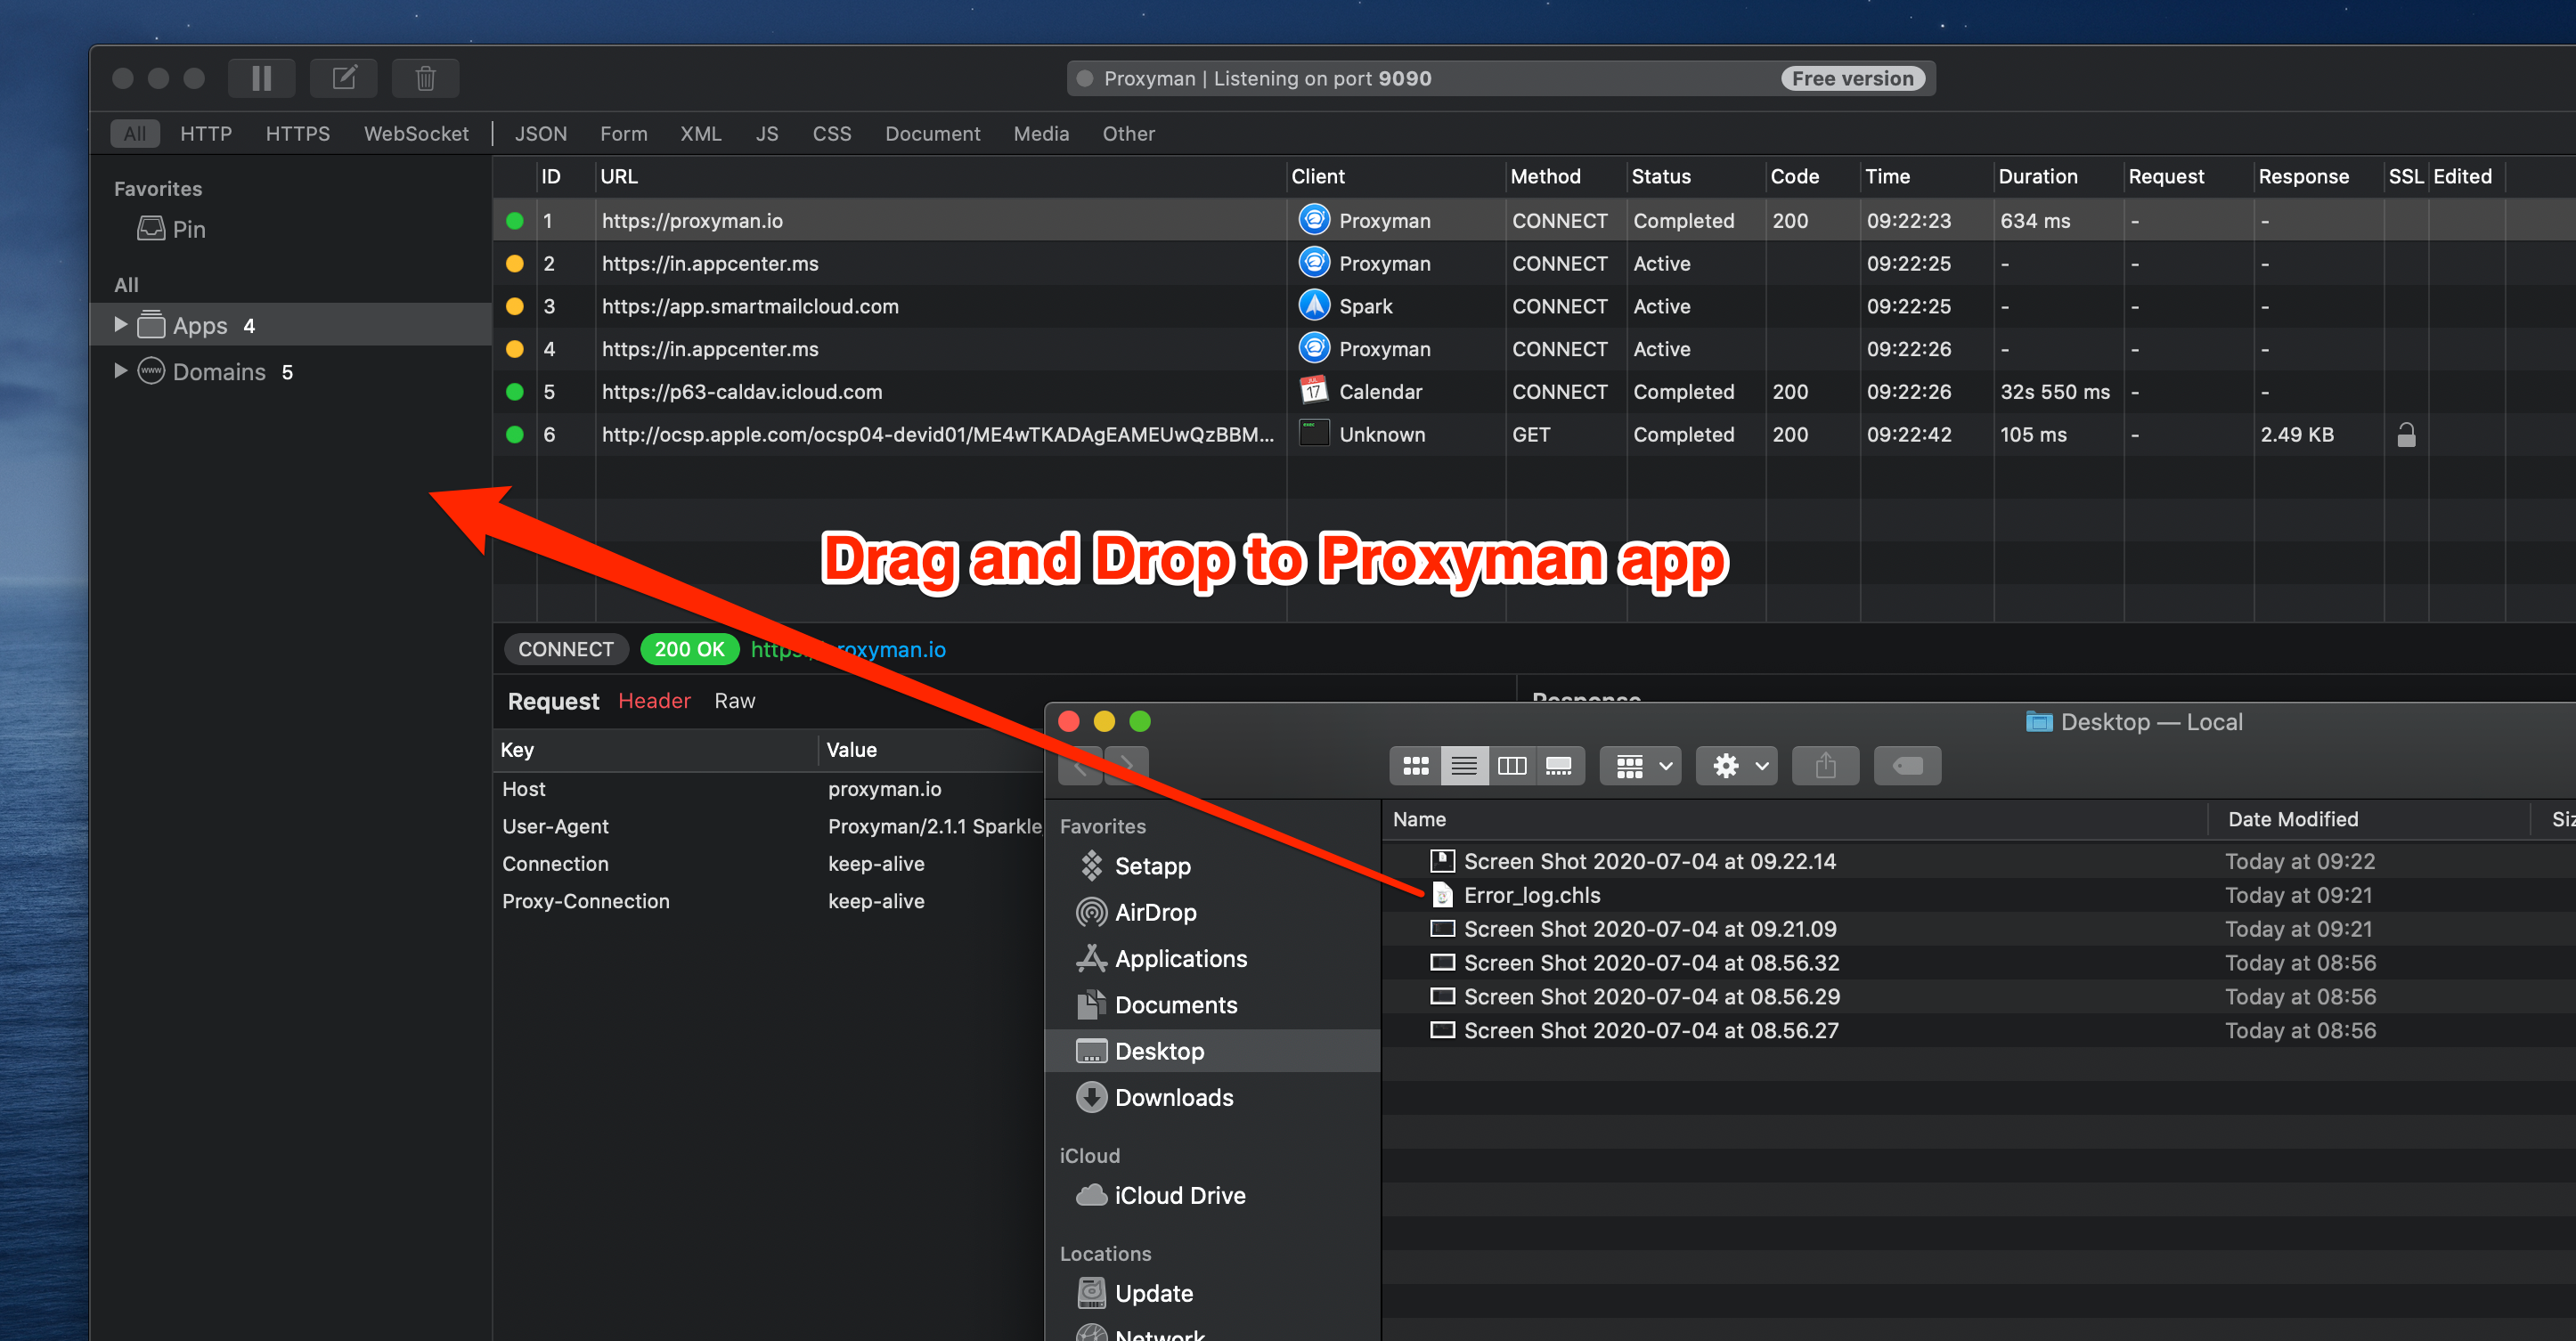
2. Drag and Drop to Proxyman app
You can drag and drop the file to Proxyman app
3. Automatically convert
At the first time you've used this feature, Proxyman would prompt the warning to make sure you're aware that Proxyman will use Charles to convert automatically.
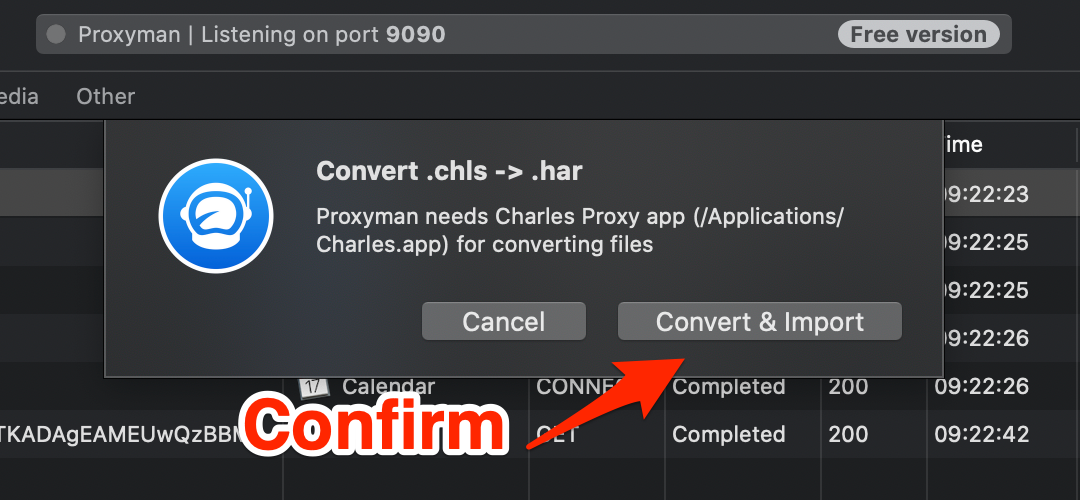
If Charles app doesn't install on your Mac, Proxyman would prompt the alert.
4. All done
At this step, Proxyman will find the default Charles app path and trigger the command to convert the file.
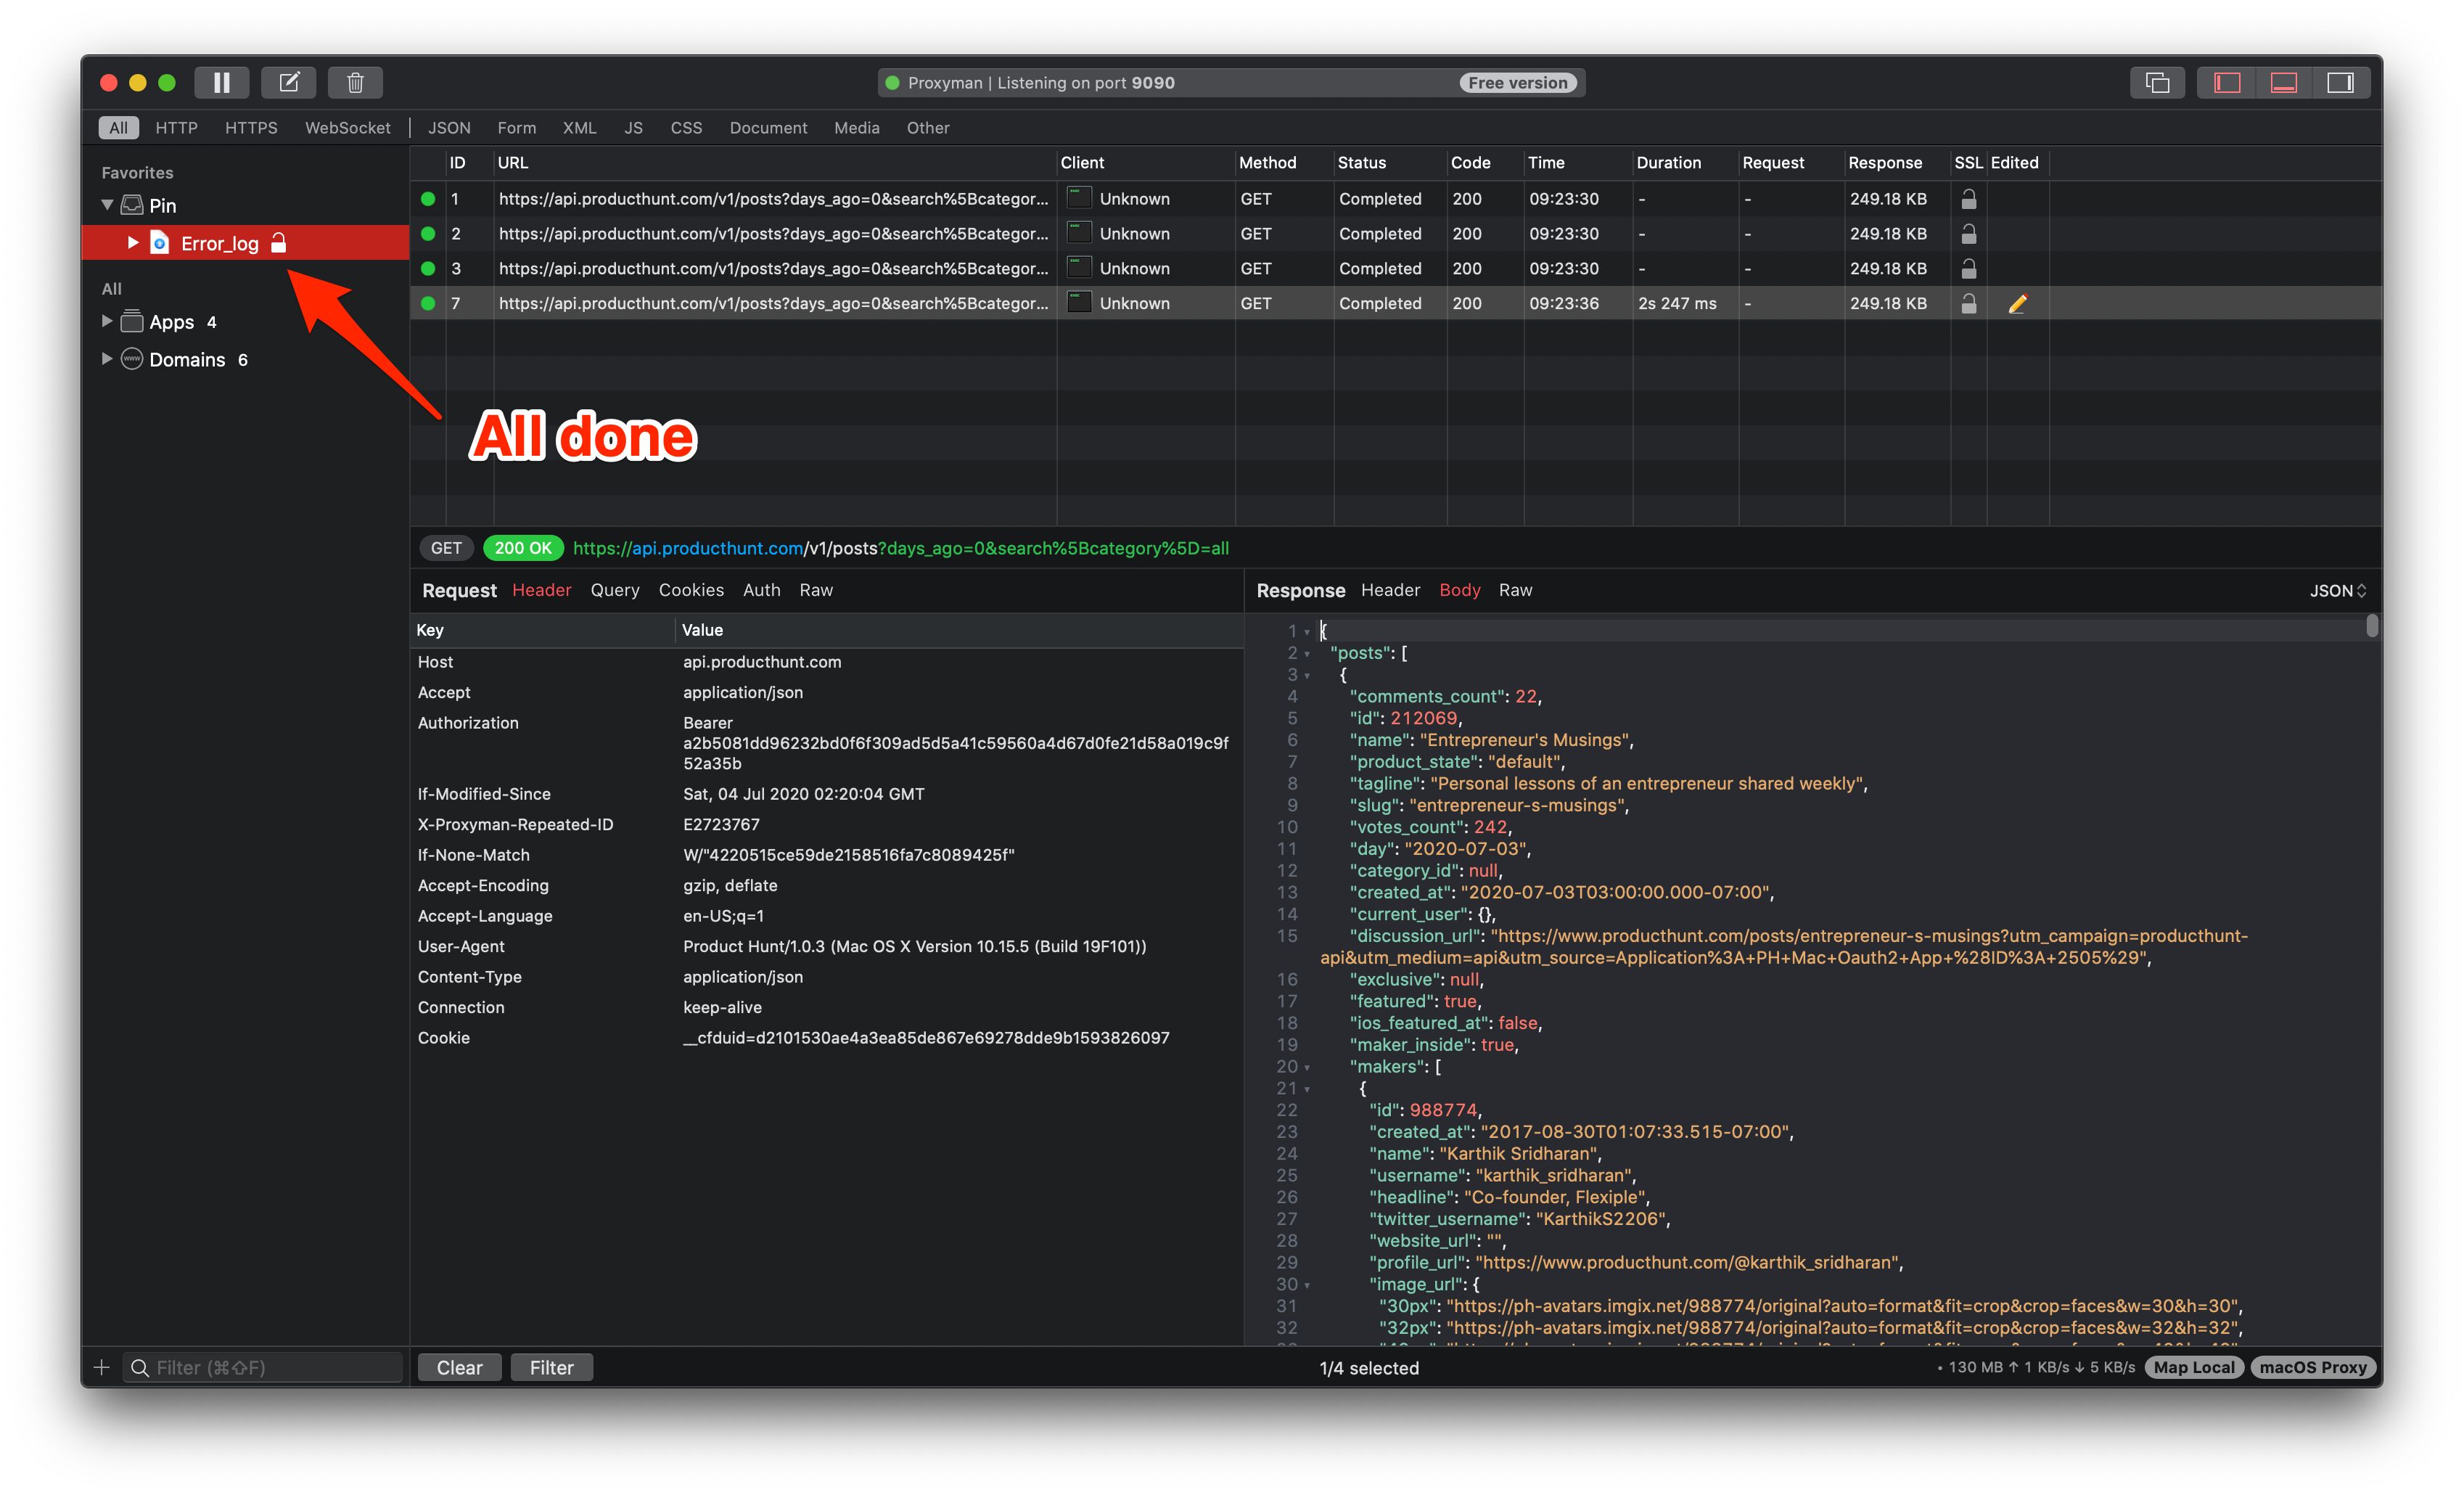
From here, we can:
- Repeat & Edit the request for testing
- Set rule for Map Local & Breakpoint
- Testing and find the bug 🐞
Manual Convert
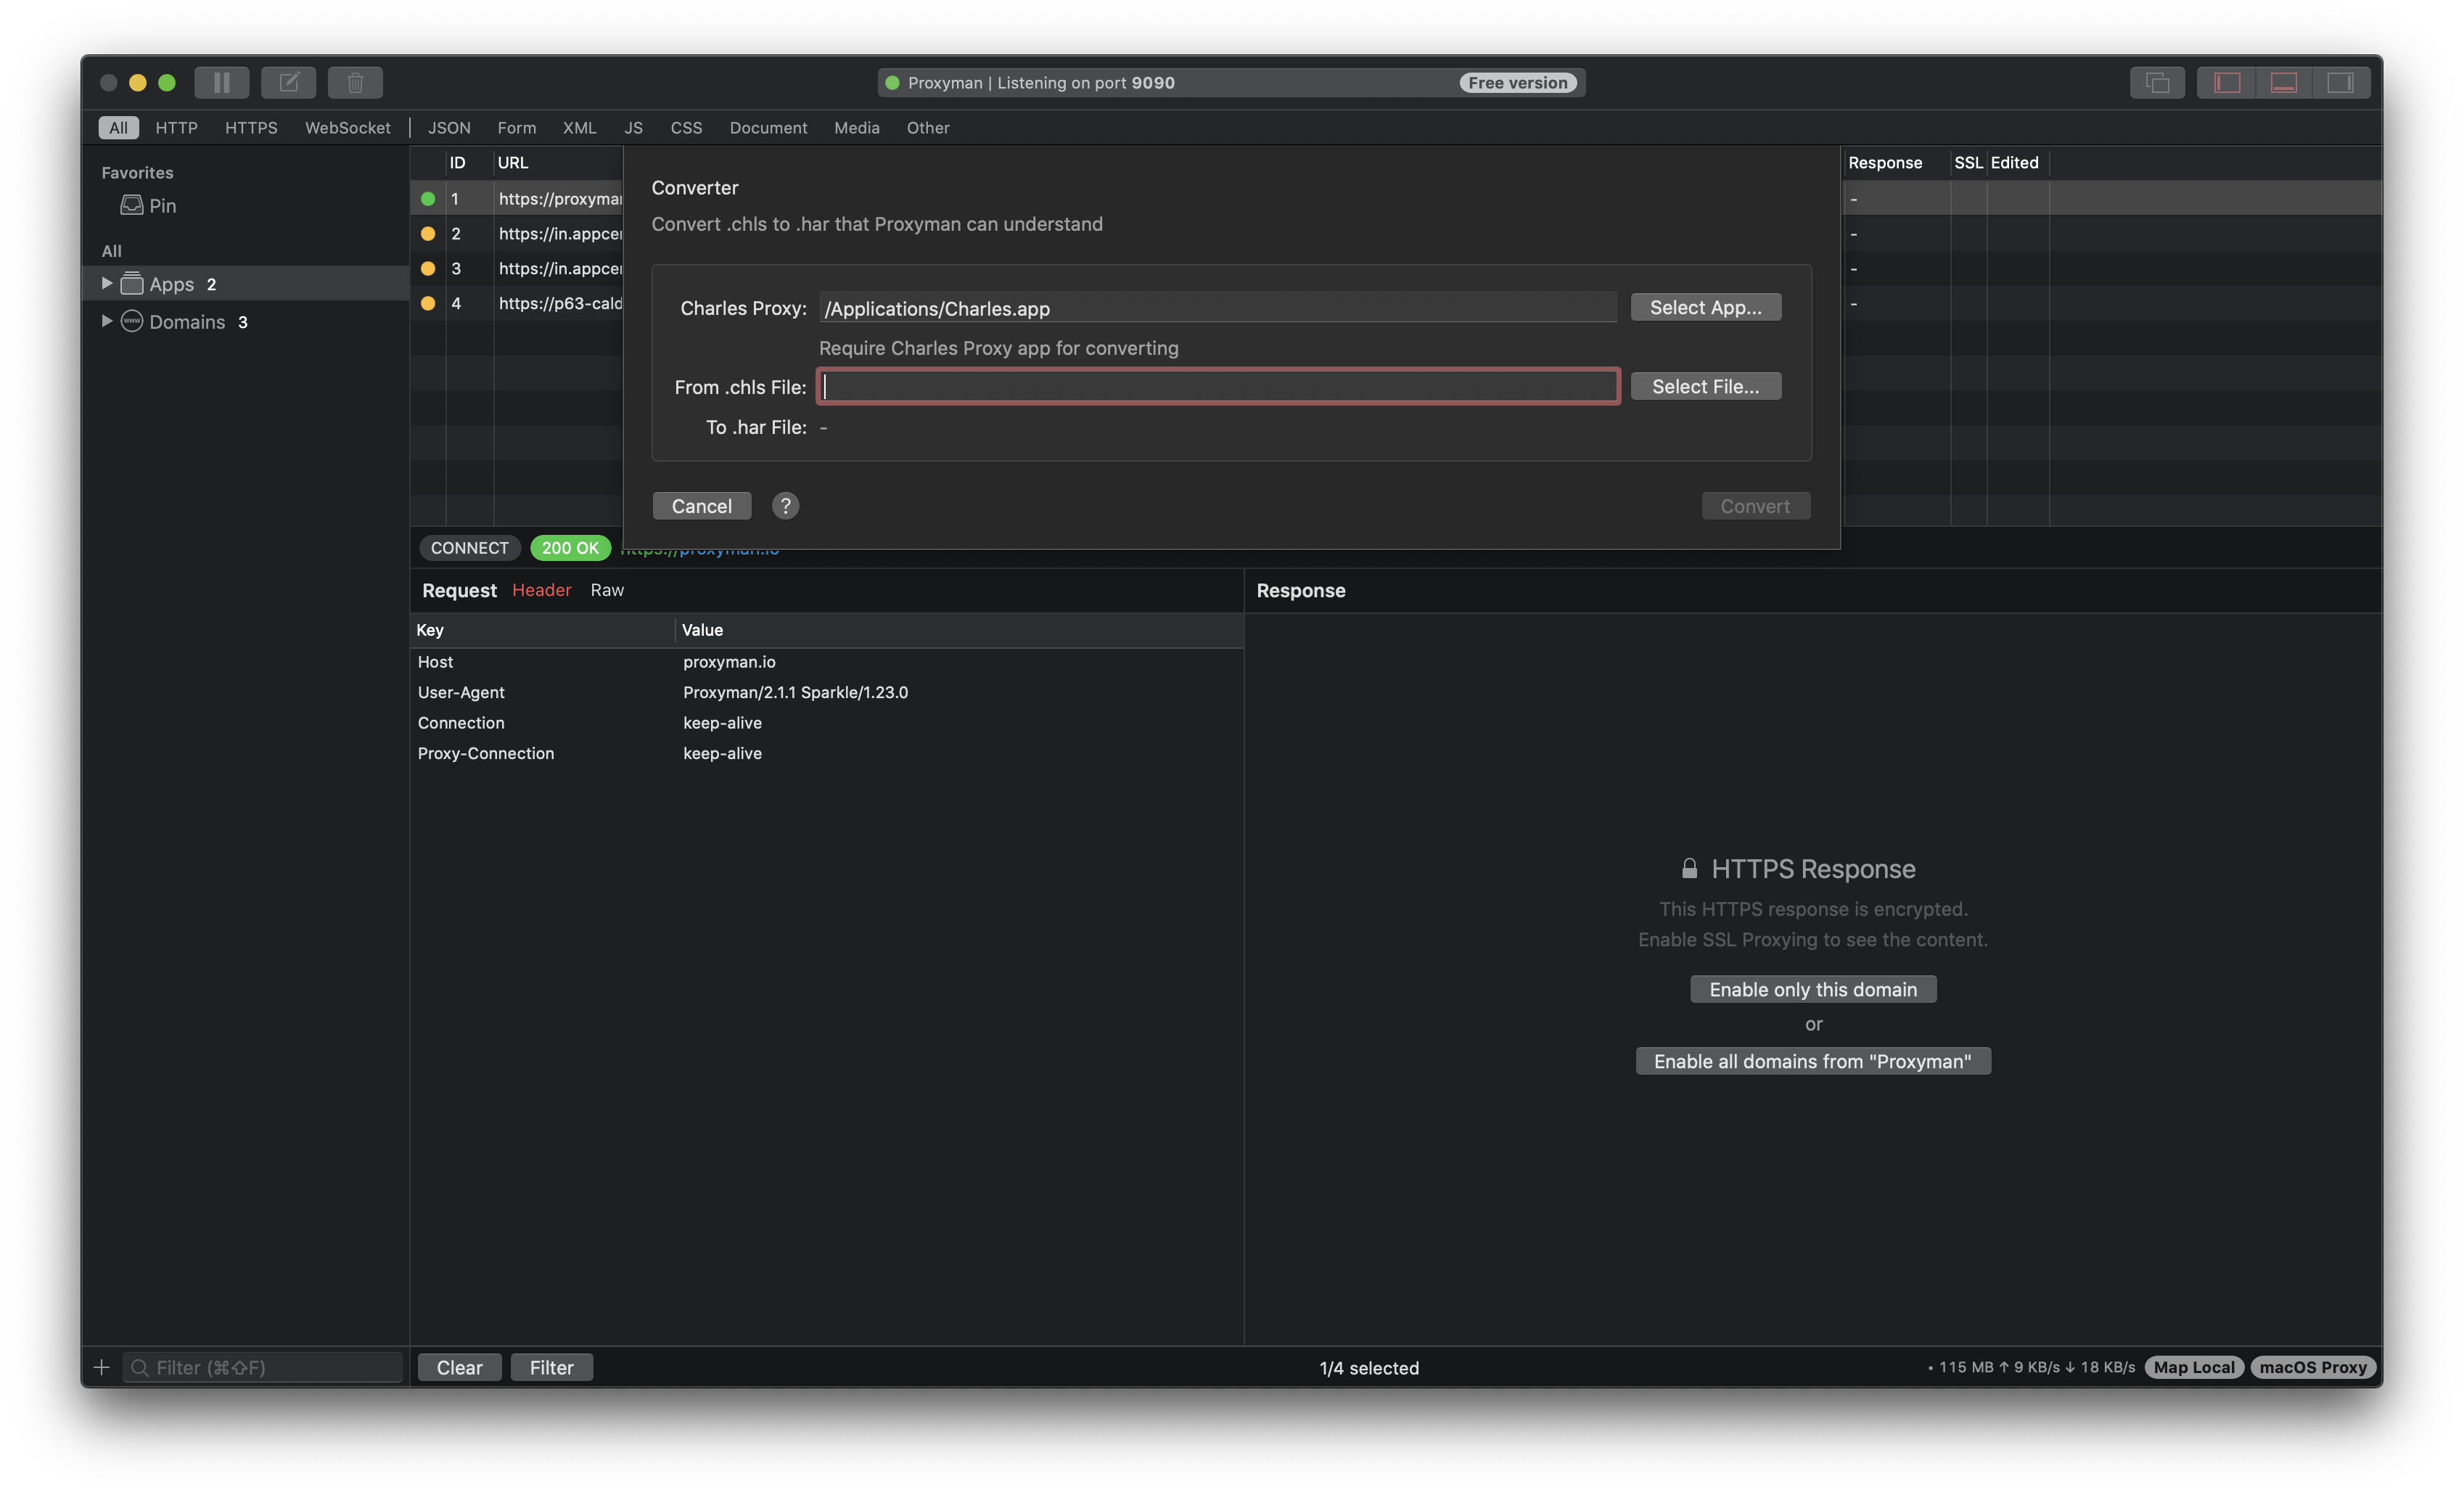
You can manually convert chls file to har format by going to:
- File Menu -> Convert -> Chls to Har and follow the instruction
Proxyman is a high-performance macOS app, which enables developers to capture and inspect HTTP/HTTPS requests from apps and domains on iOS device, iOS Simulator and Android devices.
Get it at https://proxyman.com
